There are a few things we need to do with the Raspberry Pi single-board computer before using it in IoT projects. Here is a short guide of what I typically do, mostly as a reminder to myself — but it might be of use to others as well 🙂 This article assumes that the Raspberry Pi will be headless, so no GUI.
Table of contents
The basics
First we need to download the Raspbian disk image, get the “Lite” version — everything you need can be pulled from the repository later. Write the image to an SD card; for Windows get Win32 Disk Imager, in Linux use dd:
$ dd bs=4M if=2018-04-18-raspbian-stretch.img of=/dev/sdX status=progress conv=fsync
The Raspbian images no longer have SSH enabled by default, but it’s easy to enable it; place a file named ssh (without any extension) onto the boot partition of the SD card after you have written the disk image.
If you are using the Raspberry Pi Zero, you need to plug in a monitor and keyboard and get it on the wireless network. Remember that the Raspberry Pi Zero only has mini-HDMI and micro USB connectors. So you might need some converters.
After we have gotten access to the terminal, either by using SSH or with a monitor and keyboard, we need to run the raspi-config command. There we set the hostname, enable SSH (if not already) and set the timezone. Remember to enable SPI, I2C, and anything else your project might need, I usually use the GPIO pins and leave these disabled. When done we reboot.
I like installing Vim because I love Vim, you can use whatever editor you like 🙂
$ sudo apt-get install vim
With SSH enabled — leaving the default user pi, with the default password is somewhat of a security risk. I like to add my user and delete the default pi user:
$ sudo adduser thomas
$ sudo adduser thomas sudo
Log out pi, in as the new user, and delete the pi user:
$ sudo deluser pi
Now we will allow our new user to run sudo without providing a password. First, we delete the sudoers config for the user pi since we deleted that user:
$ sudo rm /etc/sudoers.d/010_pi-nopasswd
Then we make a new file for the new user:
$ sudo vim /etc/sudoers.d/thomas-nopasswd
And write the following, just replace thomas with your user name:
thomas ALL=(ALL) NOPASSWD: ALL
Now to set the permissions for that file:
$ sudo chmod 440 /etc/sudoers.d/thomas-nopasswd
Done! 🙂
WiFi
For a lot of projects, and especially if using the Raspberry Pi Zero, WiFi is useful. So lets set it up! We will be doing this from the command line since we haven’t installed any GUI. We can search for available networks with this command:
$ sudo iwlist wlan0 scan
Next we need to specify our network credentials:
$ sudo vim /etc/wpa_supplicant/wpa_supplicant.conf
Put in your SSID and WiFi password at the end, leave the rest of the config as is. If your SSID is hidden, you need to include scan_ssid=1 like shown below.
network={
    ssid="yourHiddenSSID"
    scan_ssid=1
    psk="Your_wifi_password"
}
Reconfigure and verify:
$ sudo wpa_cli reconfigure
$ ifconfig wlan0
$ ping google.com
You can find the full documentation here: Raspberry Pi: Setting WiFi up via the command line.
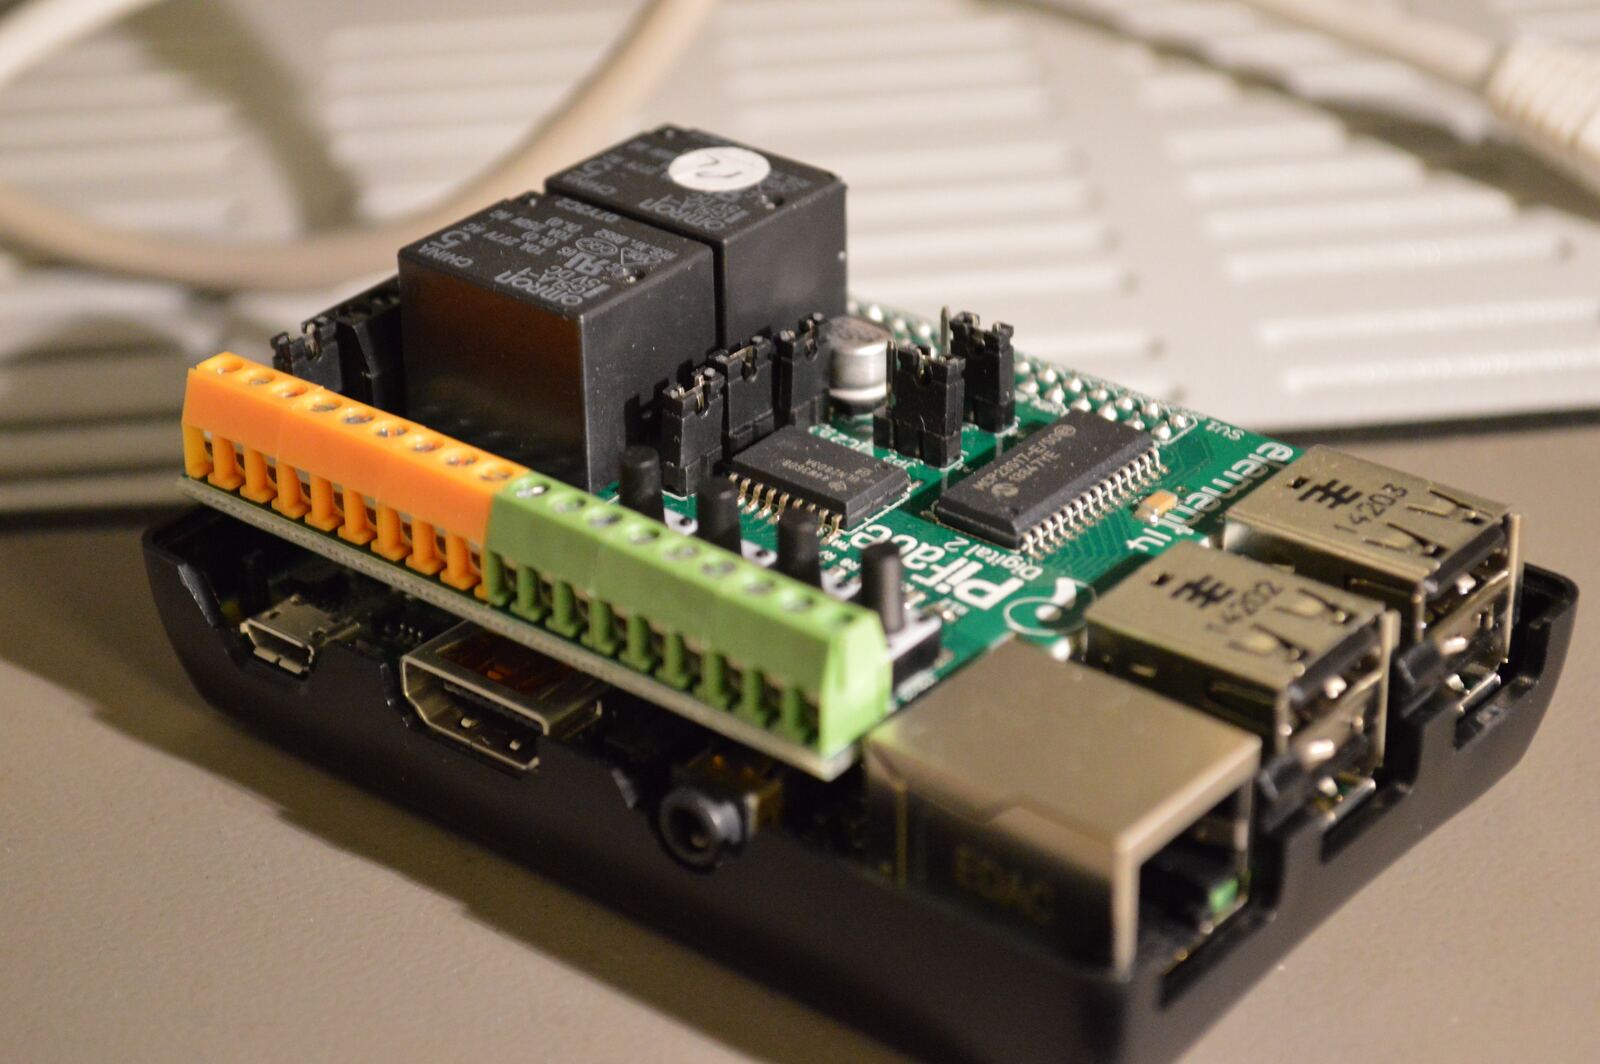
GPIO
Time for the I/O! First, we need to install a few packages and add our new user to the gpio group:
$ sudo apt-get install python3 python3-rpi.gpio
$ sudo adduser thomas gpio
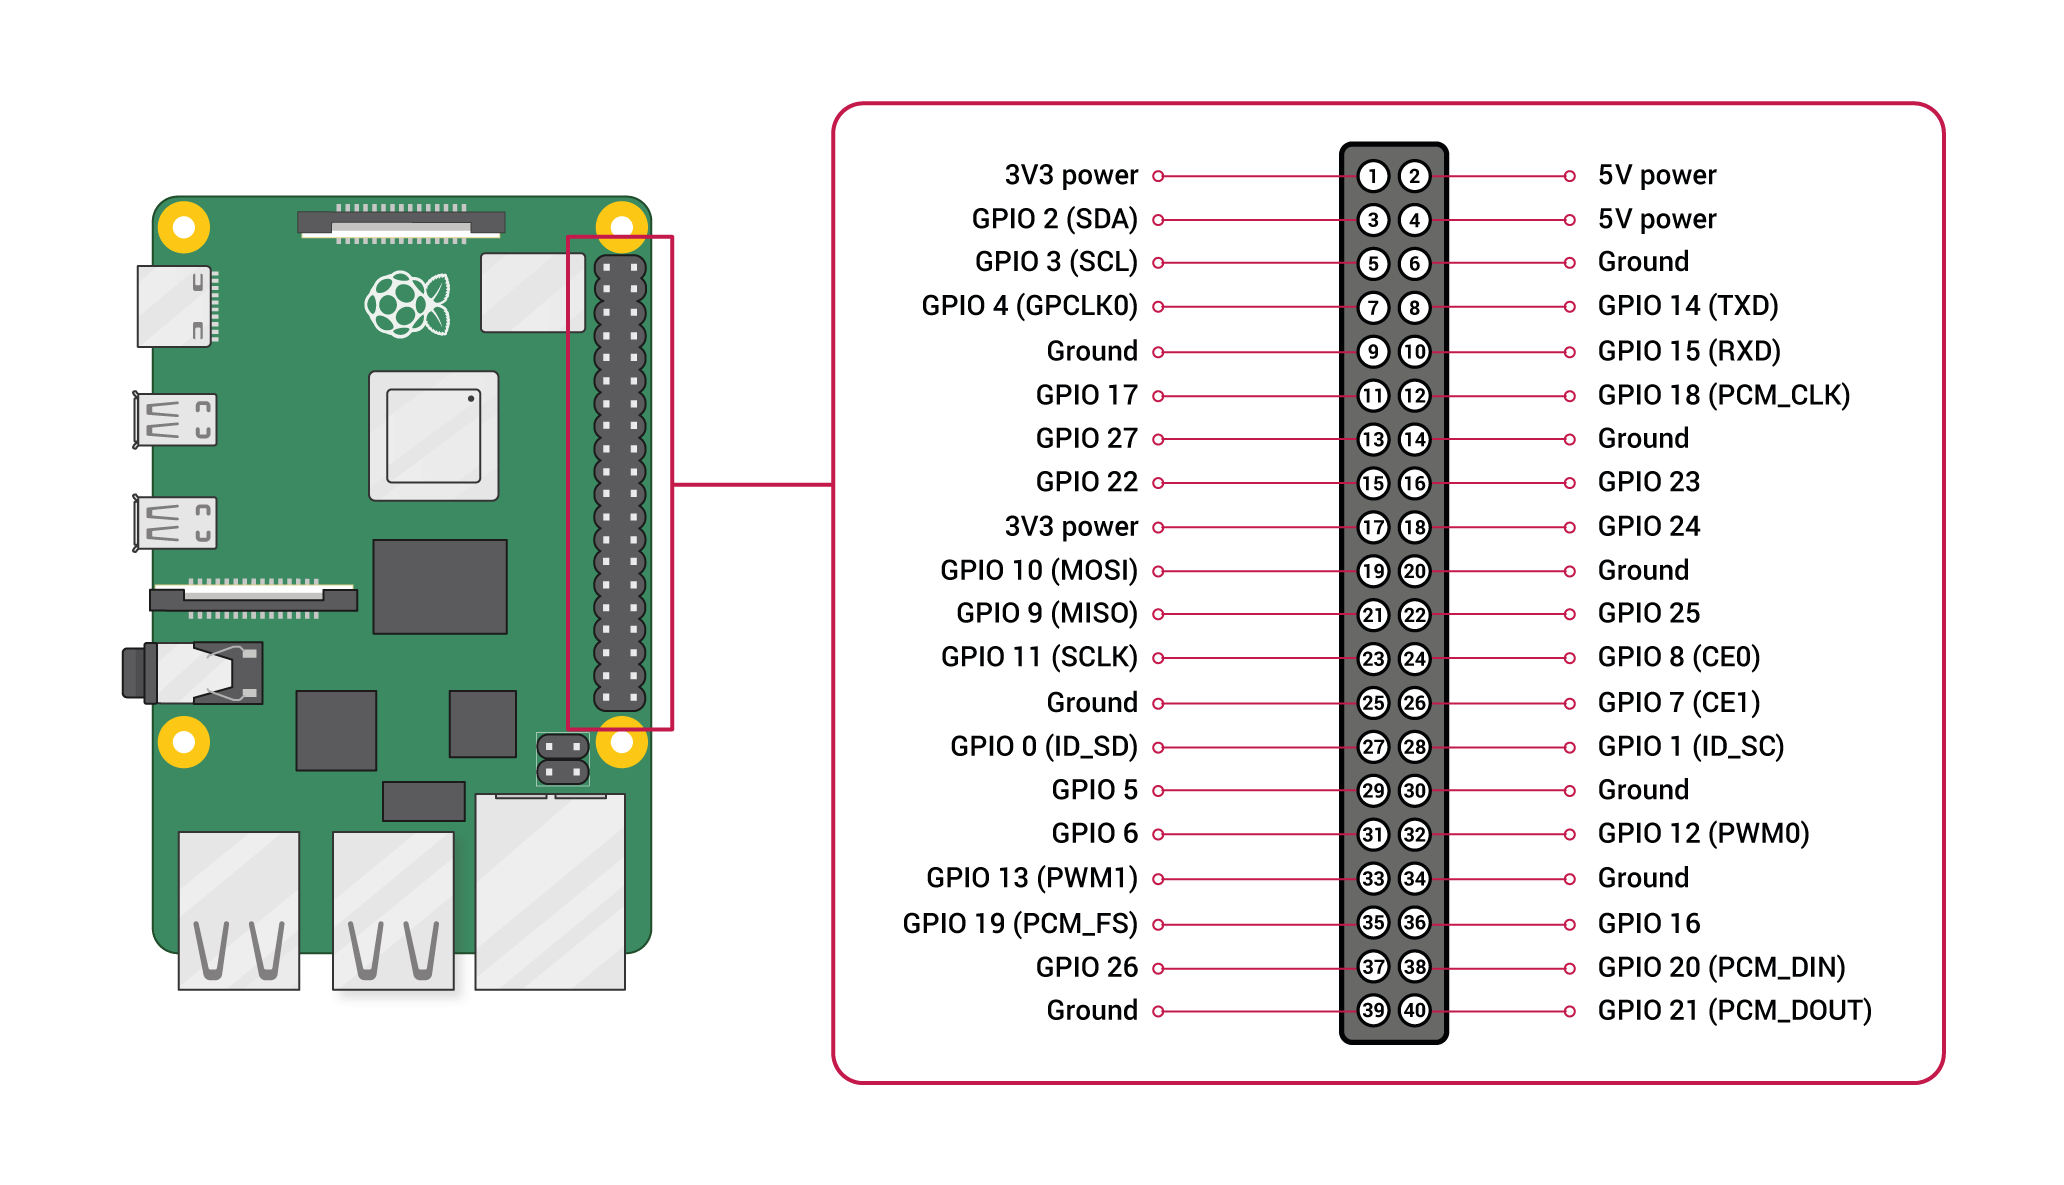
Next, we can run the Python script below, to make sure everything is working. Connect an LED to GPIO5:
import RPi.GPIO as GPIO
import time

GPIO.setmode(GPIO.BCM)  # set board mode to Broadcom

GPIO.setup(3, GPIO.OUT)

while True:
   GPIO.output(3, 1)  # turn on gpio 3
   time.sleep(1)      # wait 1 second
   GPIO.output(3, 0)  # turn off gpio 3
   time.sleep(1)      # wait 1 second
Your LED should now flash!
Python
Python is the script of choice for the Raspberry Pi, and to make it easy to install new modules we are going to install Python Package Index, or pip.
$ sudo apt-get install python3-pip
This will install pip for Python version 3, which I prefer to use whenever I can. Now we can get new modules with a simple command:
$ sudo pip3 install paho-mqtt
This will install the paho-mqtt package; which comes in very handy if you have an MQTT broker set up. If you don’t, you should, it’s fantastic!
If you are going to run multiple projects, using different Python packages — I recommend using pipenv. It provides an easy way to create and interact with virtual Python environments, which will contain your dependencies inside your project folders.
Supervisor
To make sure that our Python scripts are running I like to use supervisor, so we need to install it:
$ sudo apt-get install supervisor
And make a few configuration changes:
$ sudo vim /etc/supervisor/supervisord.conf
Add and modify this, just replace thomas with your user name:
chmod=0770
chown=root:thomas
These configuration changes allow our newly created user to run the supervisorctl command which can start and stop processes.
So now we need to define a process:
$ sudo vim /etc/supervisor/conf.d/my-proccess.conf
Add something like this:
[program:my-proccess]
command=python3 ./script-name.py
directory=/home/thomas/python/script
autostart=true
autorestart=true
user=thomas
And restart supervisor:
$ sudo service supervisor restart
This process will now auto start when the Raspberry Pi is booted, and it will restart if the process crashes. Whoho! To start, stop or restart it use the supervisorctl command.
Last commit 2023-12-25, with message: replace emoji slight_smile/slightly_smiling_face