This post is part of the Lync Status Light series.
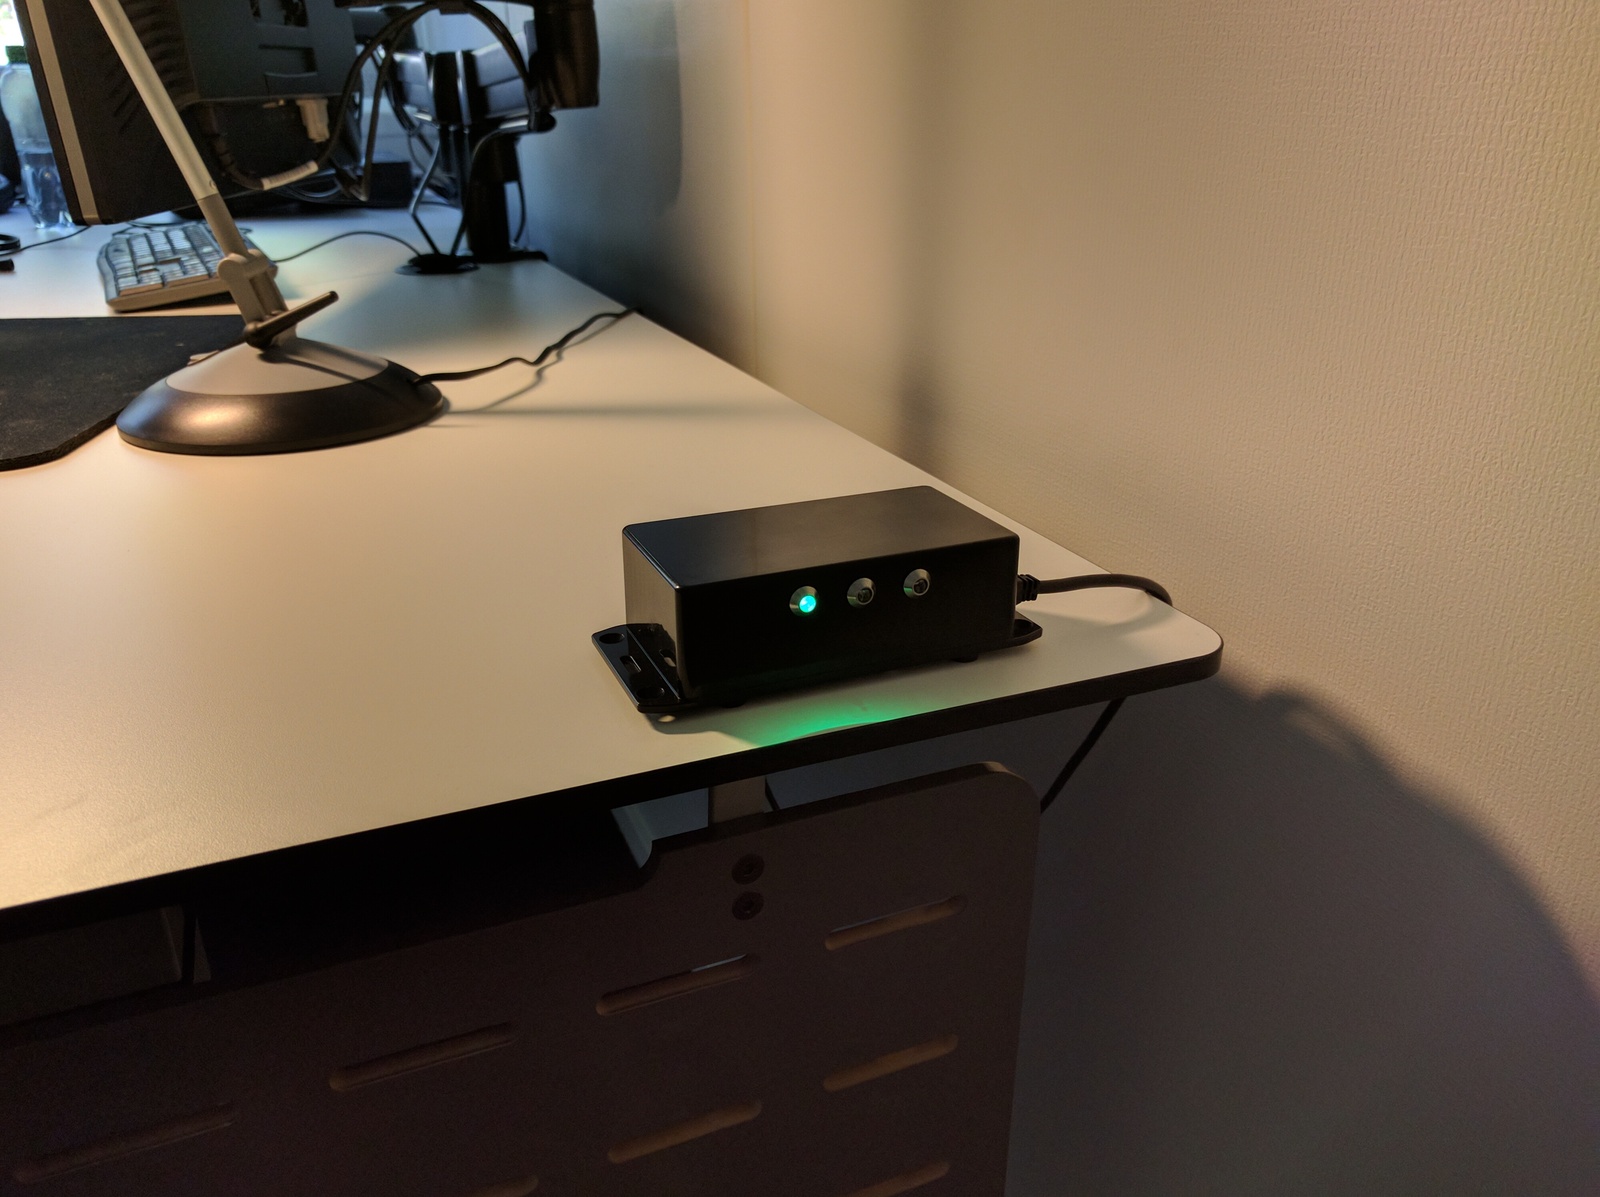
When I am at work, I use headphones; a lot. About half the time I am listening to music, the other half I am talking with someone on Lync (Skype for Business). That made it difficult for my colleagues to know whether I am available or not, so I get interrupted when I’m on the phone. I needed a way to communicate my availability!
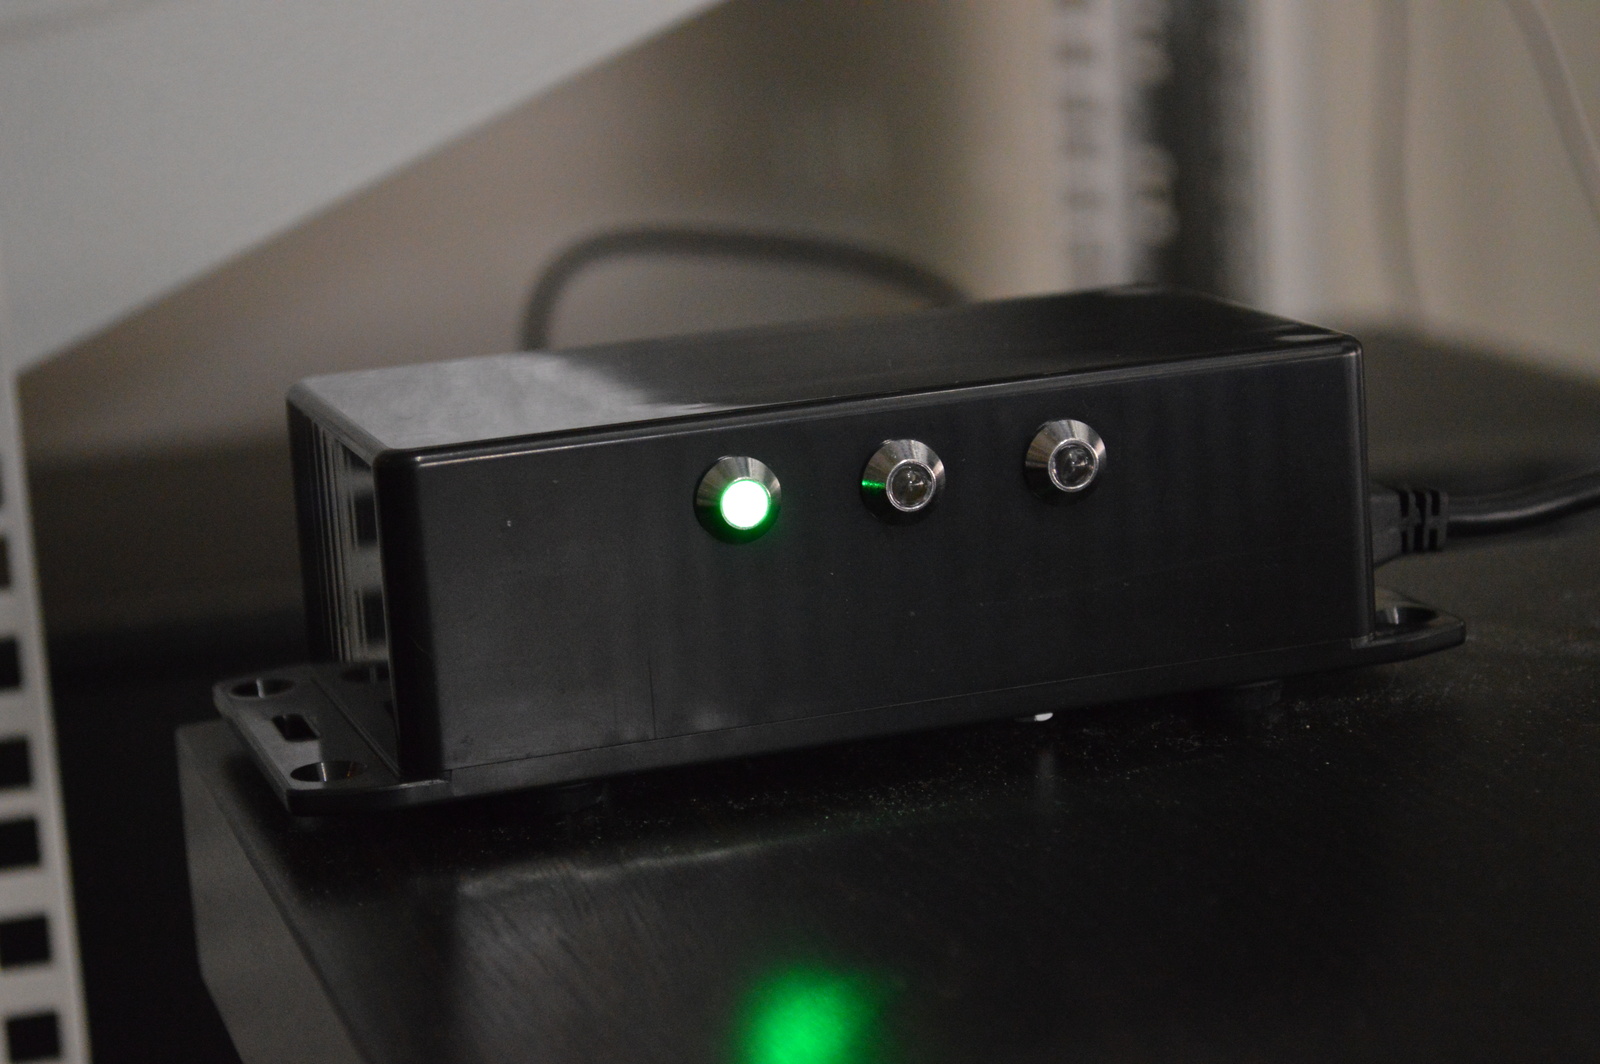
Lync already does a pretty good job with this; it’s red when I am in a meeting, on the phone or just do not want to be disturbed. Yellow when I’m away; I don’t think the away part is a problem, when my chair is empty I am usually away… And green: come on in! Enter the Lync presence light, or busy light if you will. Yeah, there are some you can buy, but where is the fun in that? So I made one using an Arduino board.
Table of contents
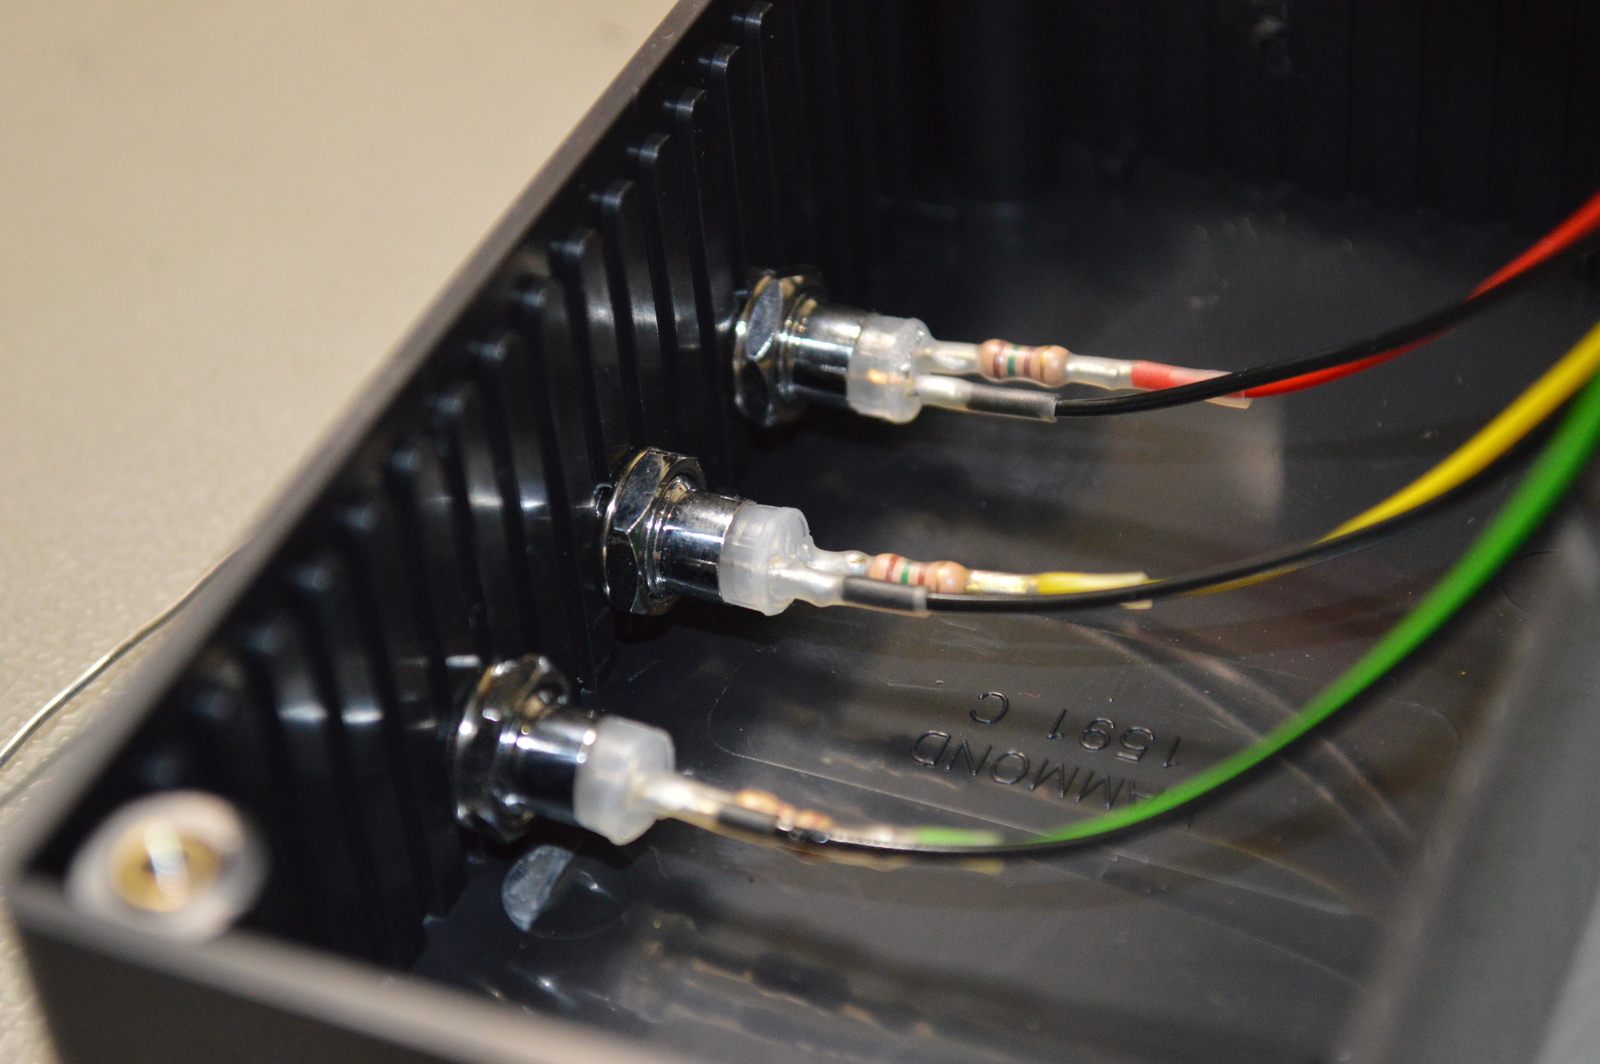
LEDs
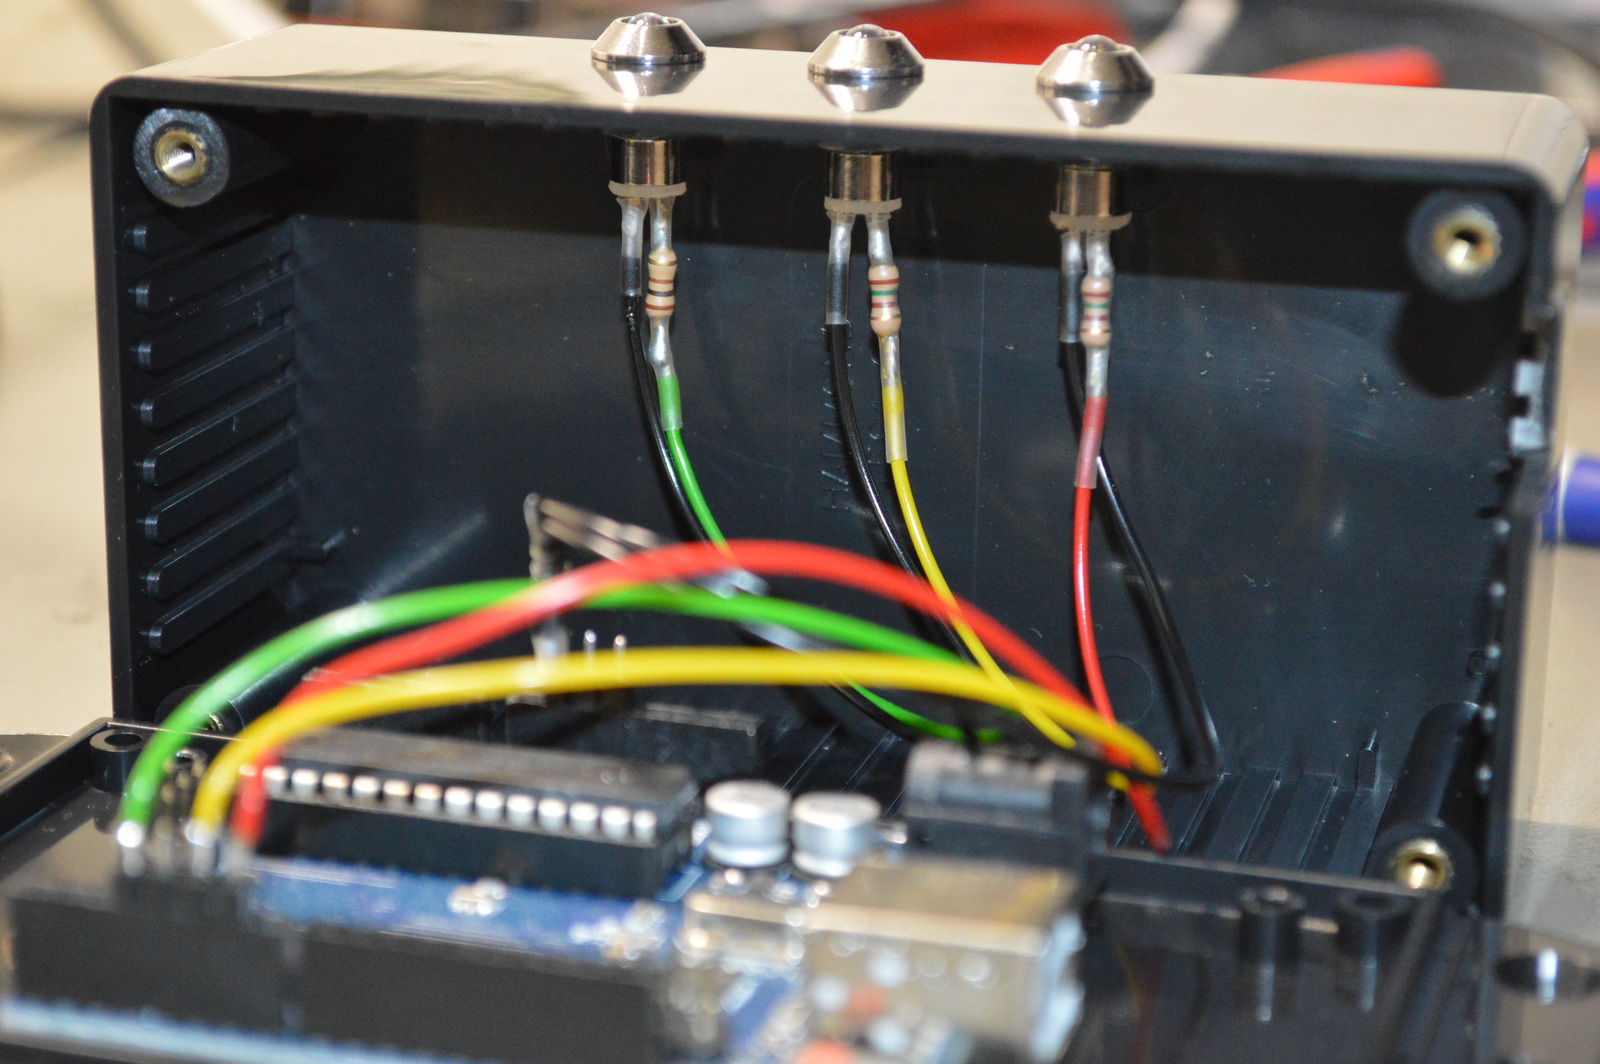
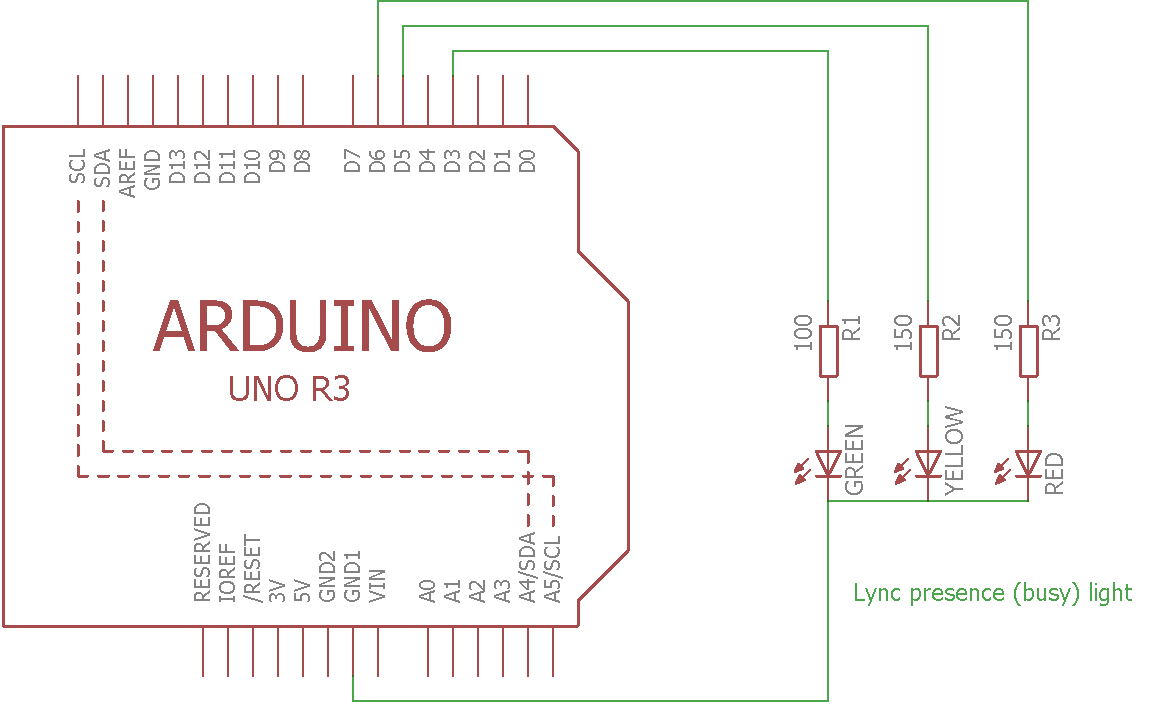
I used three LEDs, but you can use an RGB LED instead. Each LED has a resistor in series, the size of this resistor depends on the LED. I used 100 and 150 ohms. The outputs on the Arduino has a maximum current of 40 mA, now that is the absolute maximum, so it’s best to stay a bit lower than that. A typical LED is 20 mA, so that is no problem. However, if you want to drive bigger, more powerful LEDs, you need a transistor between your Arduino and LED. Another thing to keep in mind is that the total current on all output pins must not exceed 200mA, but not a problem for our three 20mA LEDs.
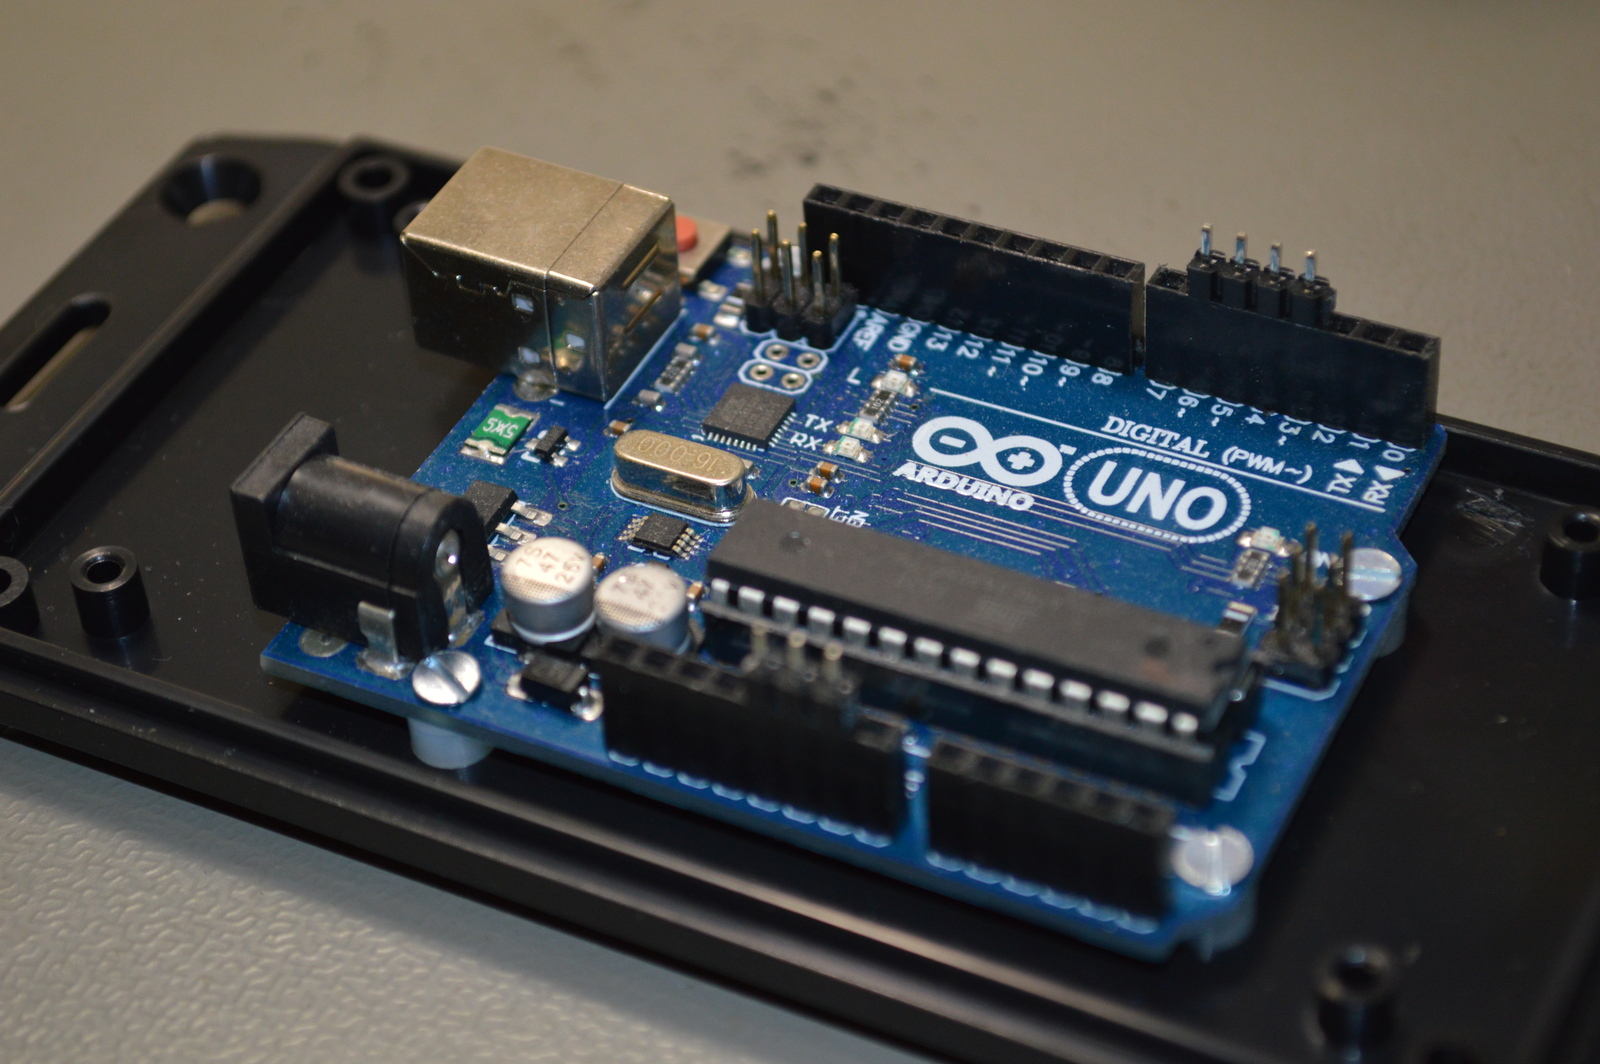
Power
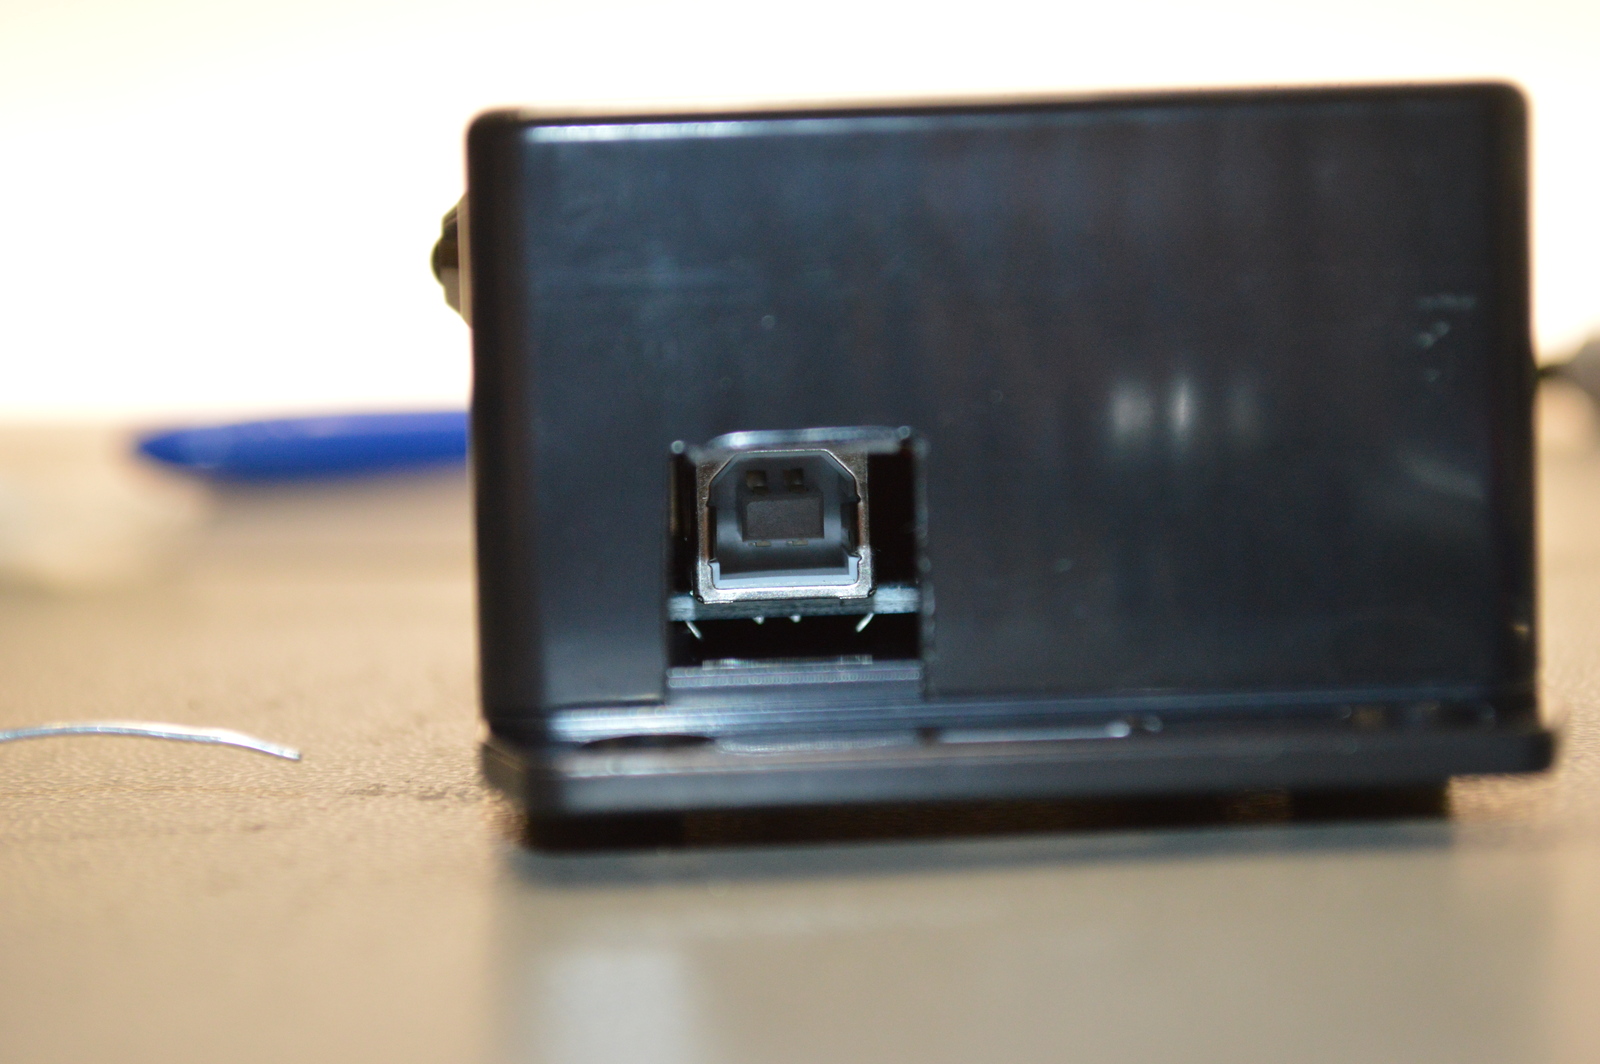
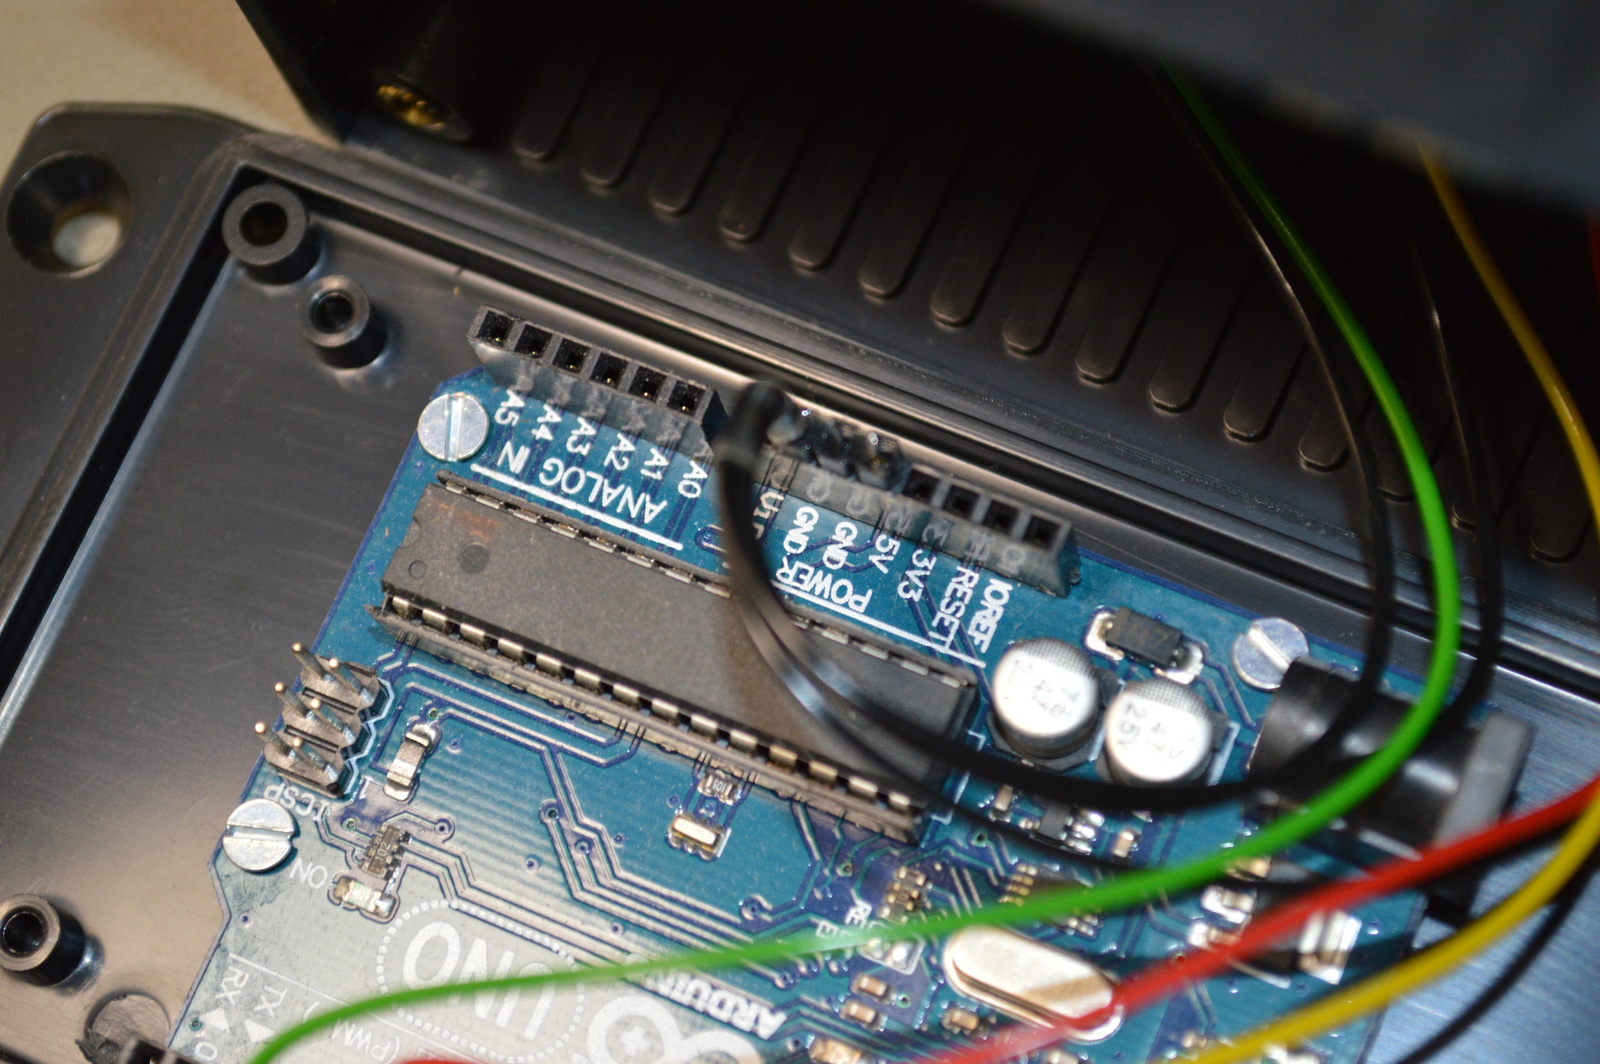
As long as the total current is below 400mA, the Arduino can be powered by the USB connection. This is perfect for our device, as it has to be connected to the computer anyways. One less wire, and adapter, to worry about 🙂
Software
Now; we need to let this device know about our Lync status somehow. Otherwise, it’s not going to do much good. Luckily and thanks to the power of open source; someone had done a lot of the job for us already. I found a project on GitHub that used a blink(1) to show the Lync status. That made my task a lot easier; I love open source!
I/O
Output pins
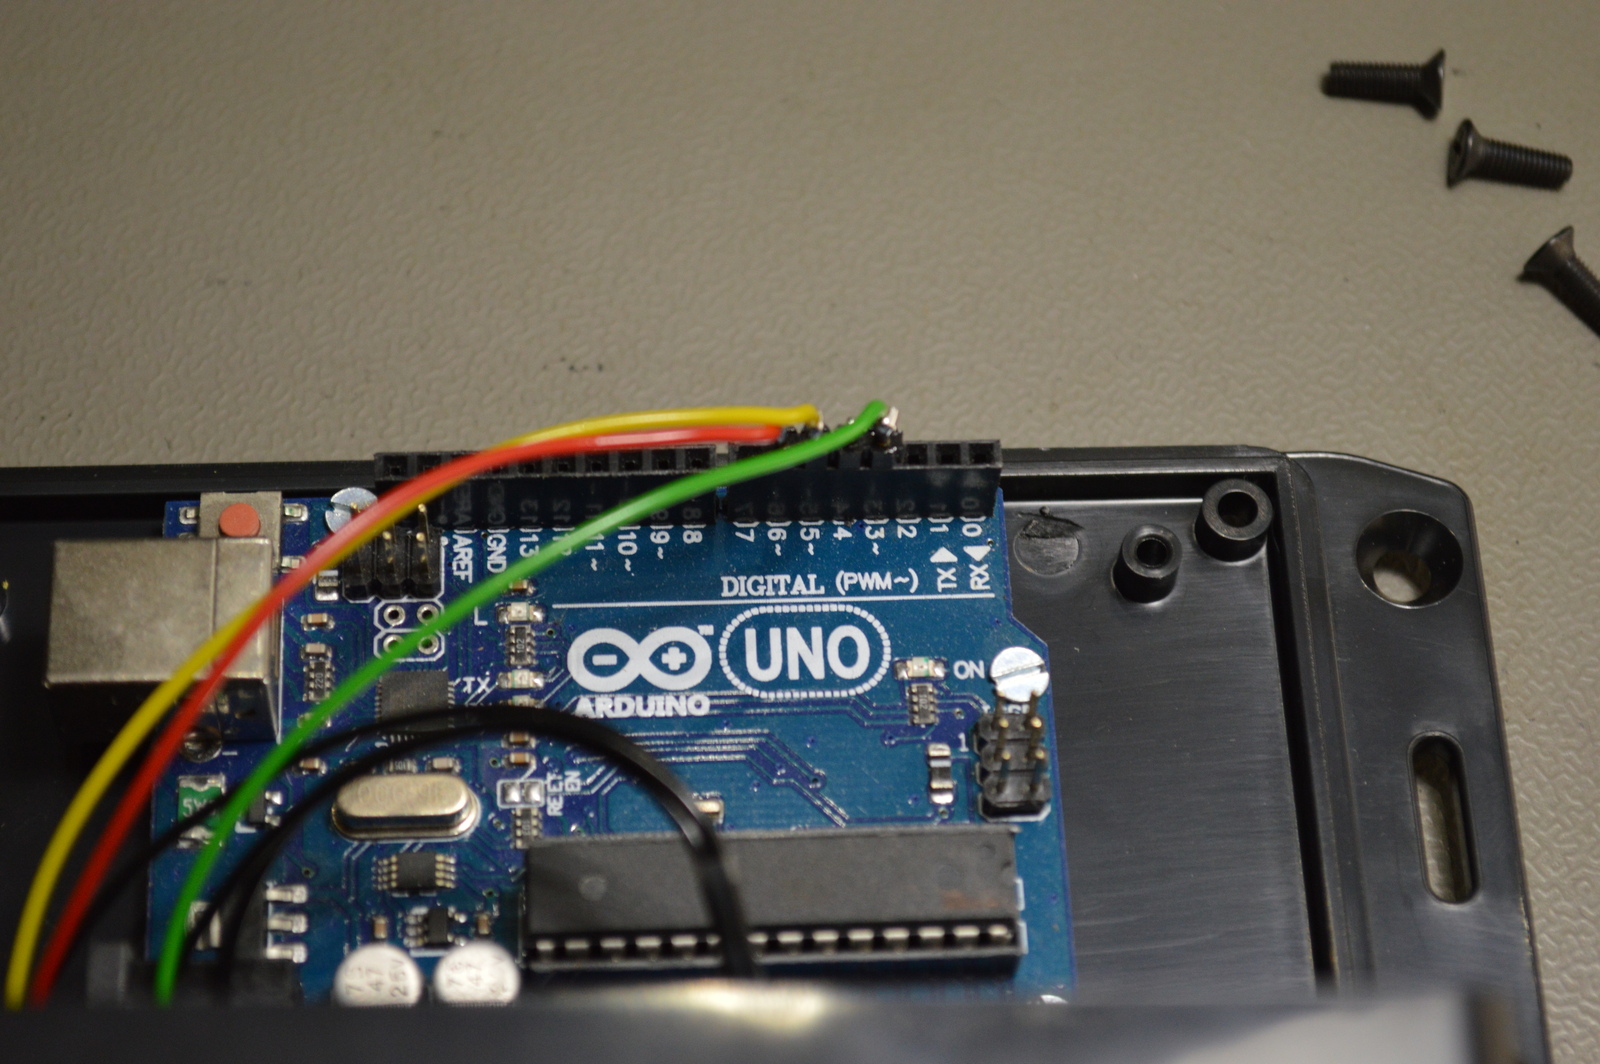
- D3 Green LED
- D5 Yellow LED
- D6 Red LED
I used these output because they are PWM, pulse-width modulated, meaning that the brightness of the LEDs can be controlled. So you can do cool things like softly blink them by fading up and down.
Schematic drawing
Parts used
- 1 × Arduino Uno R3, ATmega328P, A000066
- 1 × Enclosure, plastic (1591 FL), 120x65x40mm, flange
- 0.1 m Heat-shrink tubing, 2.4 mm, 2:1, clear
- 1 × LED 5mm clear, Green, 3.4V, 20mA, 10.000mcd, 25°
- 1 × LED 5mm clear, Red, 2.1V, 20mA, 7.000mcd, 20°
- 1 × LED 5mm clear, Yellow, 2.1V, 20mA, 10.000mcd, 20°
- 3 × LED holder 5mm, Chromed metal
- 1 × Resistor, carbon film, 0.25W, 100 Ω, 5%
- 2 × Resistor, carbon film, 0.25W, 150 Ω, 5%
- 4 × Rubber foot, adhesive, SJ-5012, Ø 12.7x3.5 mm
- 4 × Spacer, round unthreaded, 3mm, Ø6mm, Delrin
- 7 × Straight pin header, male, Single row, 2.54mm
- 0.3 m Wire, stranded, 0.22mm2, Black
- 0.1 m Wire, stranded, 0.22mm2, Green
- 0.1 m Wire, stranded, 0.22mm2, Red
- 0.1 m Wire, stranded, 0.22mm2, Yellow
External resources
Last commit 2024-04-05, with message: Tag cleanup.
Lync Status Light series
- Making a Lync status light
- Making the Lync status light bigger and brighter